How To Customize Virtual Tours With AI and Create Custom CSS With ChatGPT On CloudPano

At CloudPano, we make it easy to customize your project with the powerful AI-driven ChatGPT. With that simple tool, you can create custom CSS without needing to be a programmer - and seamlessly integrate it into your CloudPano project for amazing results!
Custom CSS provides the ability to modify and control the appearance of your virtual tours. By using the Inspector tool in CloudPano's tour editor, you can identify specific code blocks to customize and incorporate into ChatGPT.
Within the CloudPano tour editor, you can locate the custom CSS section in the Brand Kit.
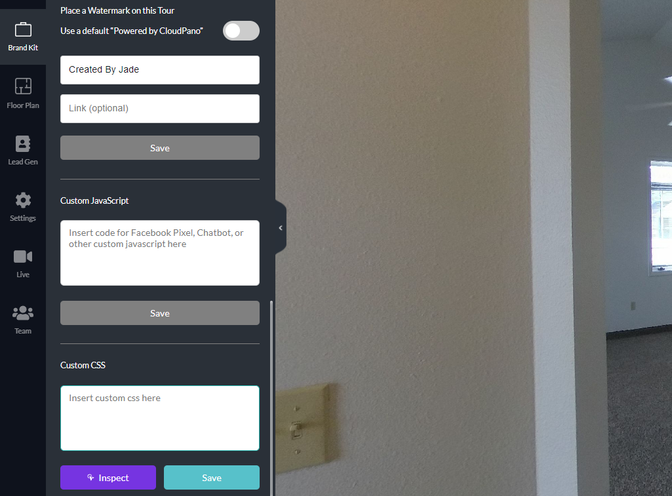
To begin customization, click on the Inspect button and hover over the thumbnails, selecting the desired element.
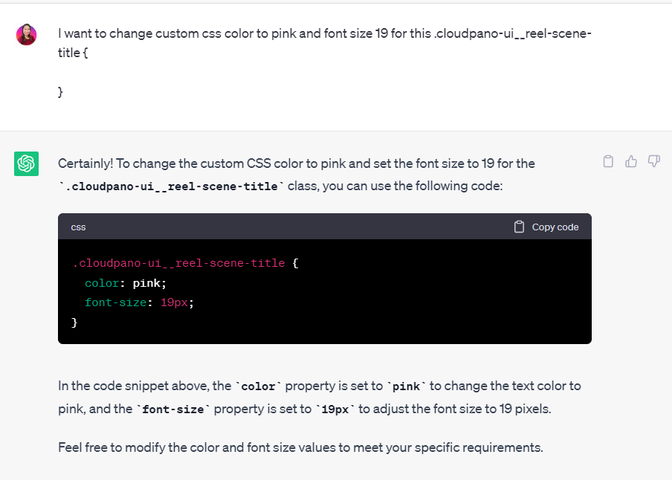
For instance, if you wish to modify the text size and color, continue hovering until you locate "cloudpano_UI_reel-scene-title." Click on that area and copy the corresponding code from the Inspector tool.

Next, make a request to modify the custom CSS color and font size in chatGPT. Paste the copied code into ChatGPT, which will automatically generate the modified code for you. Simply copy and paste this modified code back into the Inspector tool.
Once the custom code is applied and functioning as desired, the changes will be visible. Don't forget to click on Save to preserve your modifications.

If you wish to remove the "Click and Drag Mouse" element using a custom CSS solution, you can add the following code to the custom CSS inspector tool:
.animation-instructions__wrapper { display: none; }
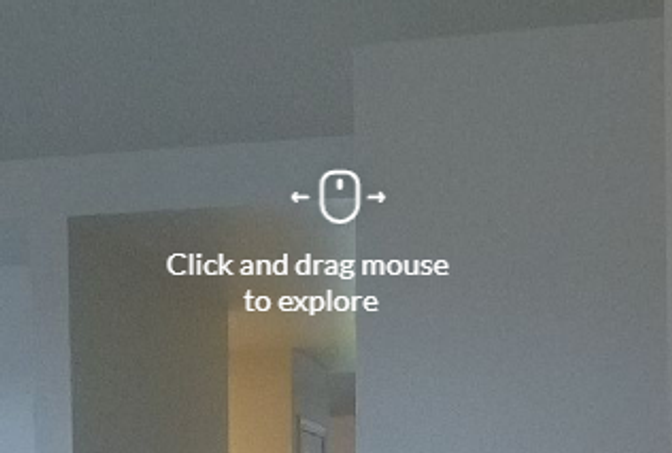
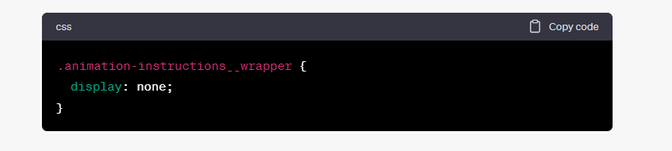
By pasting this code into the custom CSS inspector tool, it will hide the "Click and Drag Mouse" element by setting its display property to none.
Please ensure that you place the provided CSS code in the designated custom CSS inspector tool in order to achieve the desired effect of removing the element.
We hope this answer helps you. If you have any clarifiying questions or would like more detail, please chat us or call us anytime and reference this article.