
CloudPano unleashes the power of your creativity through the use of Infospots. Infospots are our way of embedding rich content into your personal tour.
Types of Infospots
We offer five types of Infospots:
Link: Link your infospot to any URL, such as a webpage, a phone number, an email address.
Image: Embed any image into a popup. When clicked, the infospot will open a popup that shows you image and a caption you provided.
Simple: Show simple descriptive text when hovered (ie, "Double-Pane Insulation!" when hovering over a home window)
Extended: Show extended descriptive text when hovered.
HTML: Embed ANYTHING. Images, paypal buttons, a form, a poll. Any raw HTML can be inserted here. For help editing HTML, simply reach out to our support team.
Step-by-Step
Create a new tour or edit an existing one. Then, from Tour Editor...
Click 'Add Infospot' button
Move the mouse pointer to locate, and then click
Edit Infospot popped up
Click 'Text' tab to enter text
Click 'Extended Text' to enter 'Header' and 'Description' text
Click 'HTML Popup' tab to enter raw HTML
Click 'Image' to upload an image
Click 'Hyperlink' to add a URL link
Click the Infospot to edit or Hold to drag
Click 'Publish' button
Using a Custom Icon
We allow eighteen default infospot icons (more coming soon!).
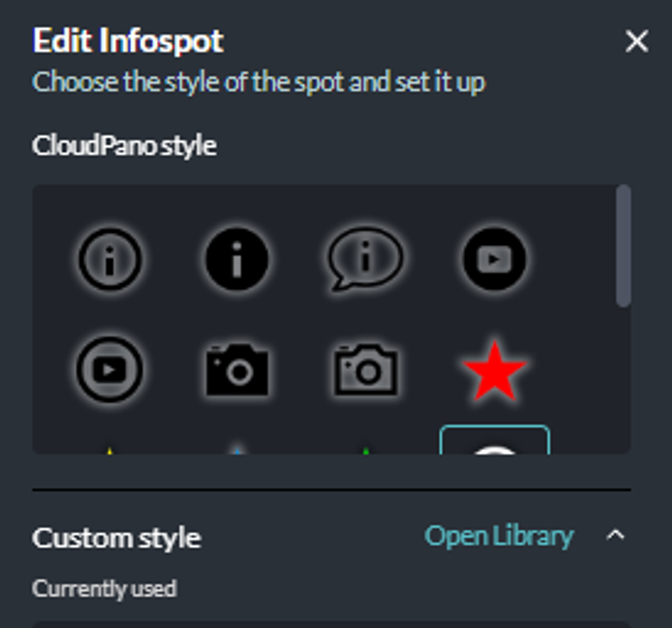
To upload a custom infospot icon, simply use our Library feature.
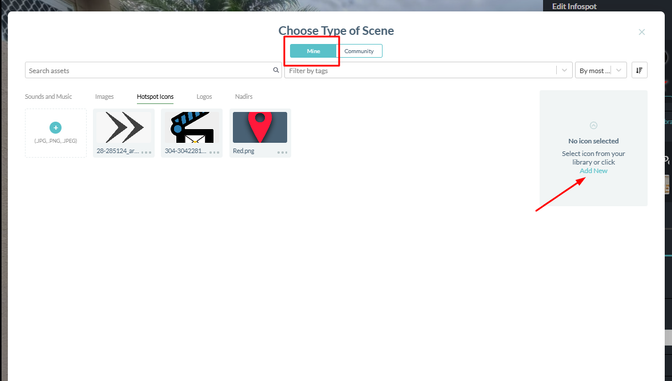
For best results, ensure your custom infospot icon is a transparent png. Any amount of margin around your image is fine, but for best results, try to crop your transparent image to just the image you want to show. Having a half-inch of empty space in your image will make your infospot icon appear smaller.